
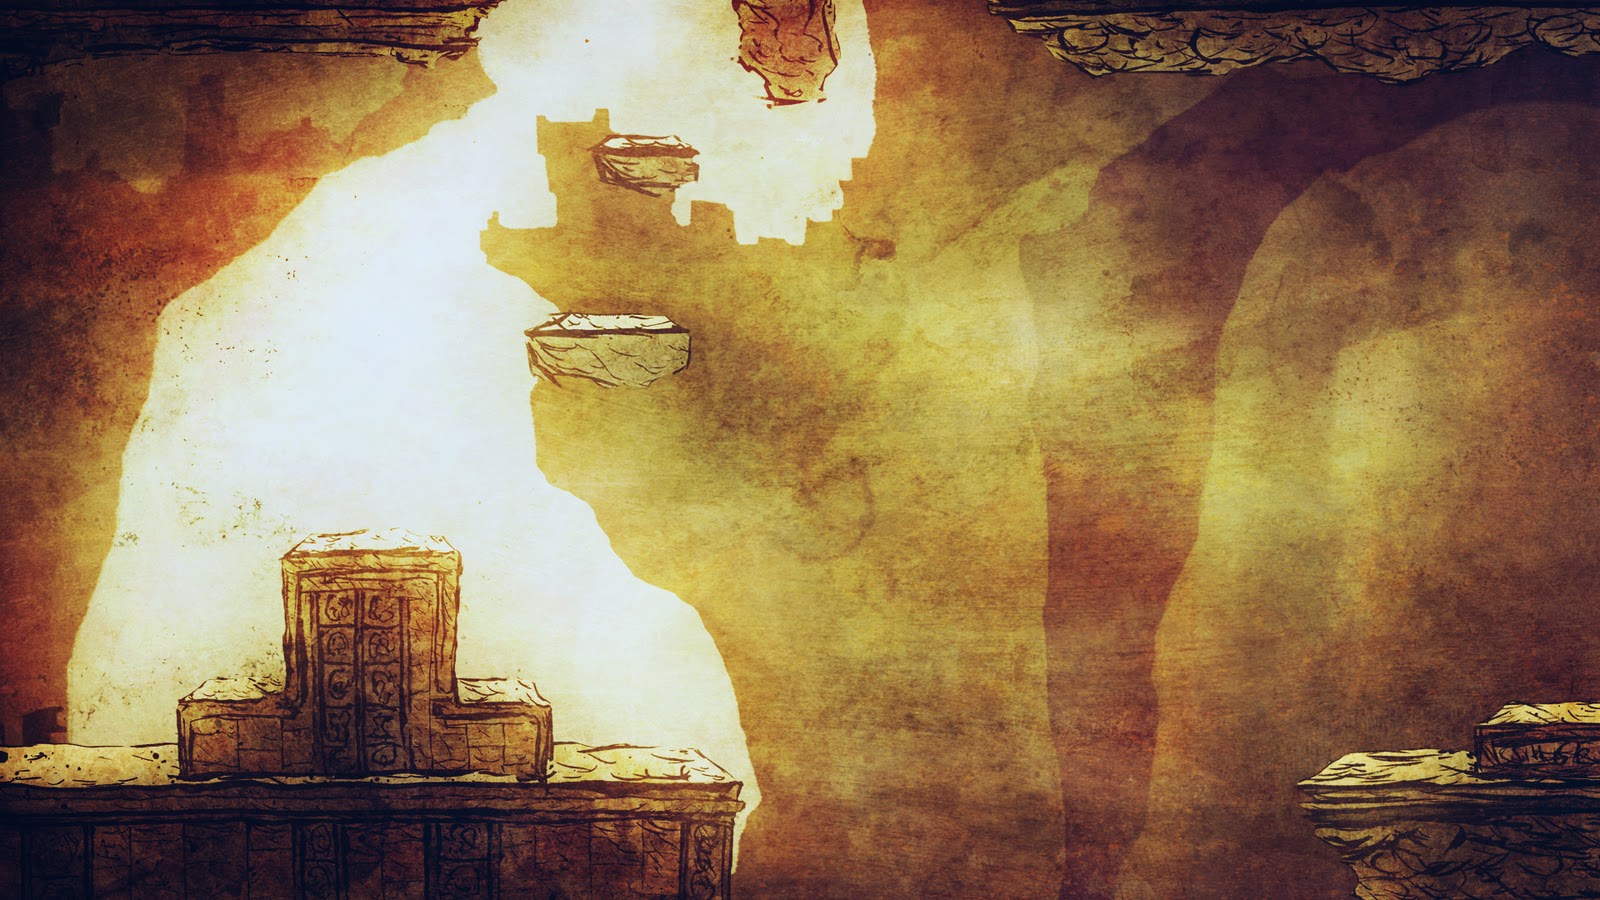
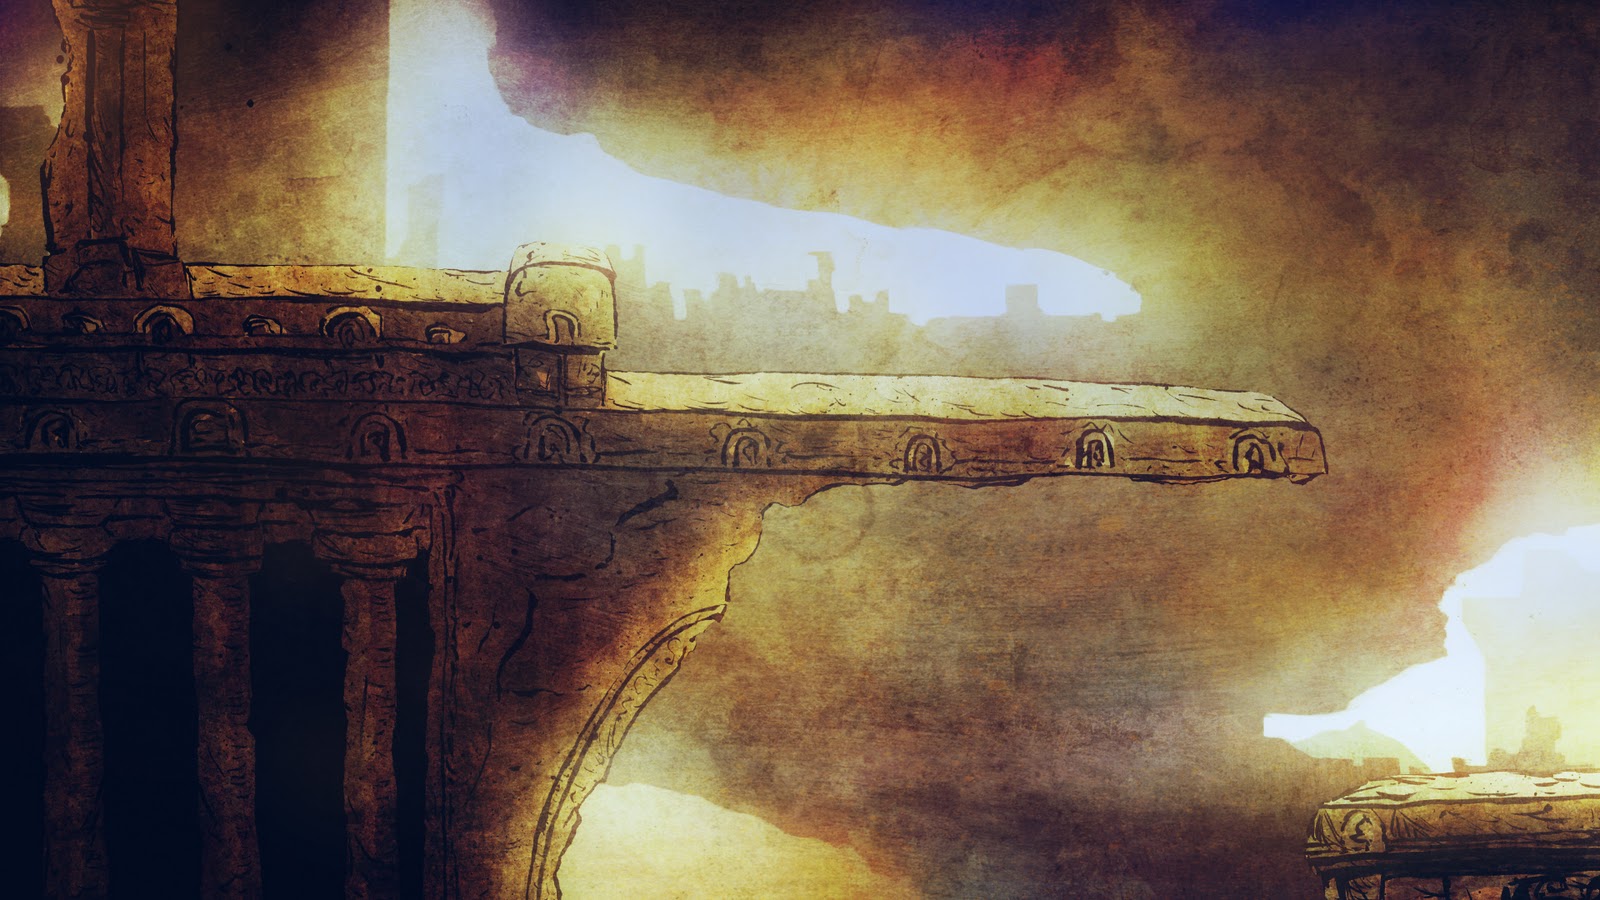
So I recently finished my last semester at Colorado State University, and as part of my final drawing project I worked on a version of my upcoming platformer for a very different context: the fine arts exhibition. It was a strange experience, I'll be honest. How do you take an exploration-based platformer meant to be played for an extended period of time, and make it work for an art gallery context where people might only come up and try it out for half a minute?
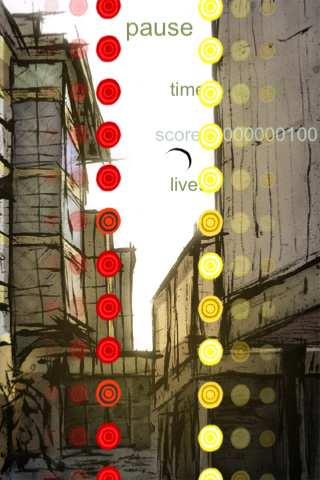
Well, one way of doing that is by taking away the platformer from the game. I thought that simple platformer controls would be easy enough for anyone to pick up and play, but still many people at my critiques were confused and frustrated. So I had to further simplify, a few times up until the point where all you have to do is move in four directions using a USB NES controller. That even proved a bit difficult for some, but overall the exhibition was a success.
Well, one way of doing that is by taking away the platformer from the game. I thought that simple platformer controls would be easy enough for anyone to pick up and play, but still many people at my critiques were confused and frustrated. So I had to further simplify, a few times up until the point where all you have to do is move in four directions using a USB NES controller. That even proved a bit difficult for some, but overall the exhibition was a success.


I had two projections of the game on either wall, and accompanying music by Nicholas Singer playing through two sets of headphones. Most people got the idea, and I was pretty happy with how it all turned out.
And now I get to finish the game as intended. :)

Most of the art is complete, and since the game design has been completed for over a year, all that's left is finishing up animations (which I may do myself, unless I can find an animator to help me out) and polishing/testing. Hopefully this process won't take more than a few months, but I've learned by now not to make release date estimates when I can only devote some of my time to game development.


